+1 Stone Skipping Throw Farther Guide
Turn Skill, stones, pets, and rebirths into longer river skips.
Distance is a Skill problem
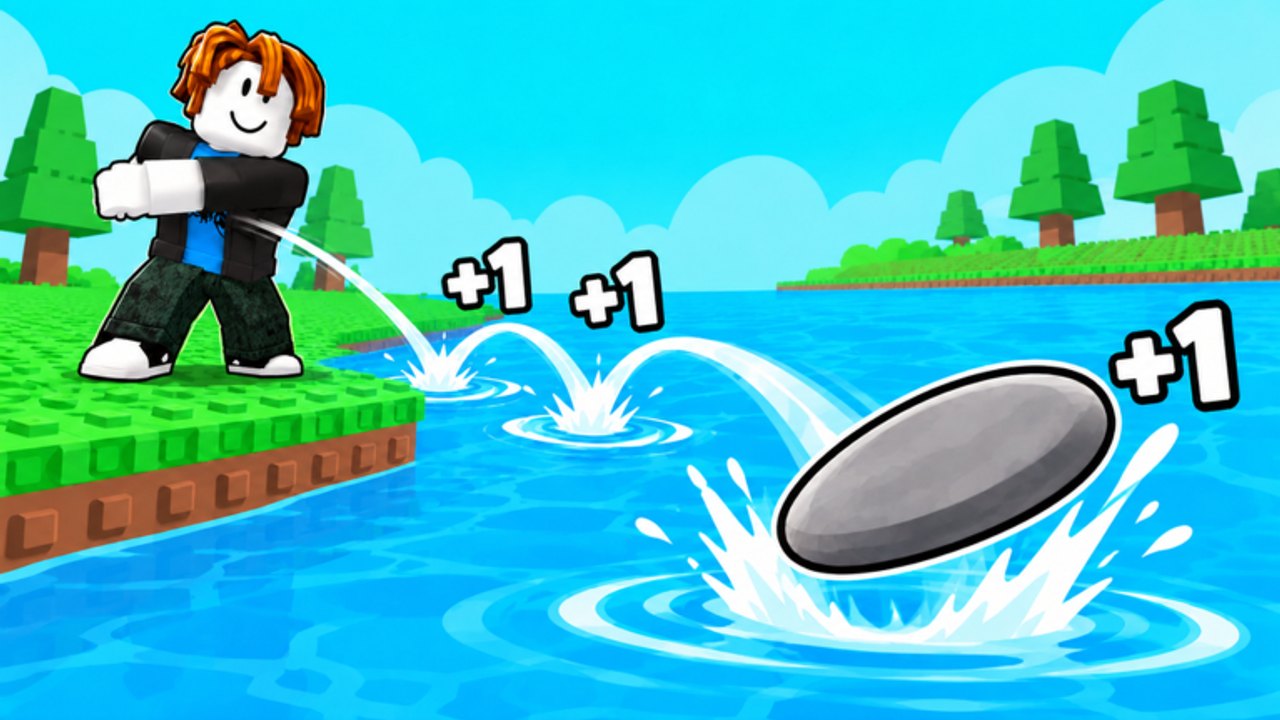
Every long skip in +1 Stone Skipping starts with Skill. The Throw button does not hide a timing minigame—you are not charging a power bar like some simulators. Your equipped stone leaves your hand with travel distance governed by current Skill, then skips across river zones. Farther zones pay more Wins. Clearing the final zone unlocks the next World, which raises Skill requirements again and refreshes shops.
If throws die in the first band, you do not need “better aim.” You need more Skill per second, a stronger stone, better pets, or a rebirth you are delaying. This guide ties those systems to raw distance. New players should still read Getting Started; rebirth timing lives on the Rebirth Guide.
Read the river as a payout ladder
Treat each zone marker as both a progress flag and a Wins multiplier band. Early zones teach the loop. Mid zones fund stone upgrades. Late zones on a World bank the Wins that make eggs reasonable. When a throw finally crosses the last marker, celebrate once, then prepare for the next World’s harder water—Meow Labs paces Worlds so yesterday’s “max throw” becomes today’s warm-up.
While you learn zone order, keep Controls & HUD handy so you can find Throw, Shop, and the Rebirth meter without hunting the screen mid-run.
Build Skill before you spam Throw
Long sessions on the river with a weak Skill total waste time. The faster path:
- Equip your best stone (additive Skill—see Stones Guide).
- Equip your best pets (multiplicative Skill—see Pets Guide).
- Stand on the highest training station you have unlocked.
- Drink a Skill Potion (~2x Skill gain for ~10 minutes) if one is available from dailies or Codes.
- Train until the next zone is realistic, then throw in short bursts to convert distance into Wins.
After enough rebirths, migrate from starter pads to 4x and later 10x stations. A 10x pad with a Skill Potion and stacked pets is how players jump entire zone bands between shop visits.
Stack every multiplier lane
Distance scales with the product of your account bonuses:
- Rebirth multipliers — permanent; take them whenever the meter hits 100%
- Stone additives — buy the next clear upgrade before luxury eggs early on
- Pet multipliers — dominate once high-rarity hatches land
- Potions — temporary 2x windows on Skill, Wins, or Luck
Missing one lane shows up as “I rebirth a lot but still sink early” or “I bought a flashy egg and still cannot clear mid zones.” Fill gaps using the Tier List Hub, especially Stones Tier List for early value and Pets Tier List for late spikes.
Win Potions versus Skill Potions
Use the right bottle for the job:
- Skill Potion — pad time, rebirth recovery, pushing a new zone for the first time
- Win Potion — already clearing high zones and converting throws into shop money
- Luck Potion — hatching sessions, not river grinding
A common mistake is drinking Win Potions while still dying in early water. Double Wins on a tiny payout is worse than a Skill Potion that unlocks two zones farther. Save Win Potions for after your Skill stack can already reach valuable bands.
Worlds raise the distance bar
When your stone finally survives the last river zone, the next World opens. Expect:
- Higher Skill checks per zone
- New stone types in the shop
- New pet eggs and rarities
- Another rebirth ladder on the raised caps
Do not hoard a finished World forever. Unlock the new map, buy the first affordable stone upgrade there, and repeat train → throw → spend → rebirth. Track World launches and shop refreshes on Updates.
Practical distance checklist
Before a serious throw session:
- Rebirth meter is not stuck at 100% unused
- Best stone equipped (including late weird throwables when owned)
- Best pets equipped and not sitting in inventory
- Standing on the best unlocked pad before the session, not after
- Skill Potion active for the push; Win Potion ready only if zones already pay well
- Next stone or egg target decided so Wins have a job
If you clear a new personal-best zone, immediately spend into the upgrade that preserves that distance after the next rebirth. Remember: stones and pets persist through rebirth, so a distance breakthrough should become permanent account power, not a one-run highlight.
Troubleshooting short throws
- Throws worse after a rebirth — normal for seconds to minutes; train on your best pad with a Skill Potion and your kept loadout.
- Pads feel slow — you may have unlocked a higher station; check rebirth unlocks on the Rebirth Guide.
- Wins feel stuck — you need farther zones, a Win Potion on already-good throws, or a stone/pet upgrade from the guides above.
- New World feels impossible — expect the wall; stack another rebirth cycle and hatch toward higher rarity pets.
Related reading
- Getting Started — first-hour priorities
- Rebirth Guide — caps, keeps, pad unlocks
- Stones Guide — additive distance tools
- Pets Guide — multiplicative distance tools
- Guides Hub — full how-to index
- Scripts — optional QoL while you AFK train
Frequently Asked Questions
Quick answers to the most common questions.
Why does my stone sink so early?
Skill is too low for that river zone. Train on your best pad, equip stronger stones and pets, use a Skill Potion, and rebirth at 100% so multipliers keep climbing.
Is there a timing trick on the Throw button?
No special power charge is required. Distance comes from Skill and your stacked stone, pet, rebirth, and potion bonuses.
When should I use a Win Potion?
Use Win Potions when you can already reach high-paying zones. If you still die early, drink a Skill Potion and train first.
How do Worlds affect throw distance?
Clearing the final zone unlocks the next World with higher Skill requirements, new stones, and new pets—so you rebuild distance with the same loop on a tougher river.