+1 Stone Skipping Stones & Throwables Guide
Spend Wins on better stones early, then chase late weird throwables.
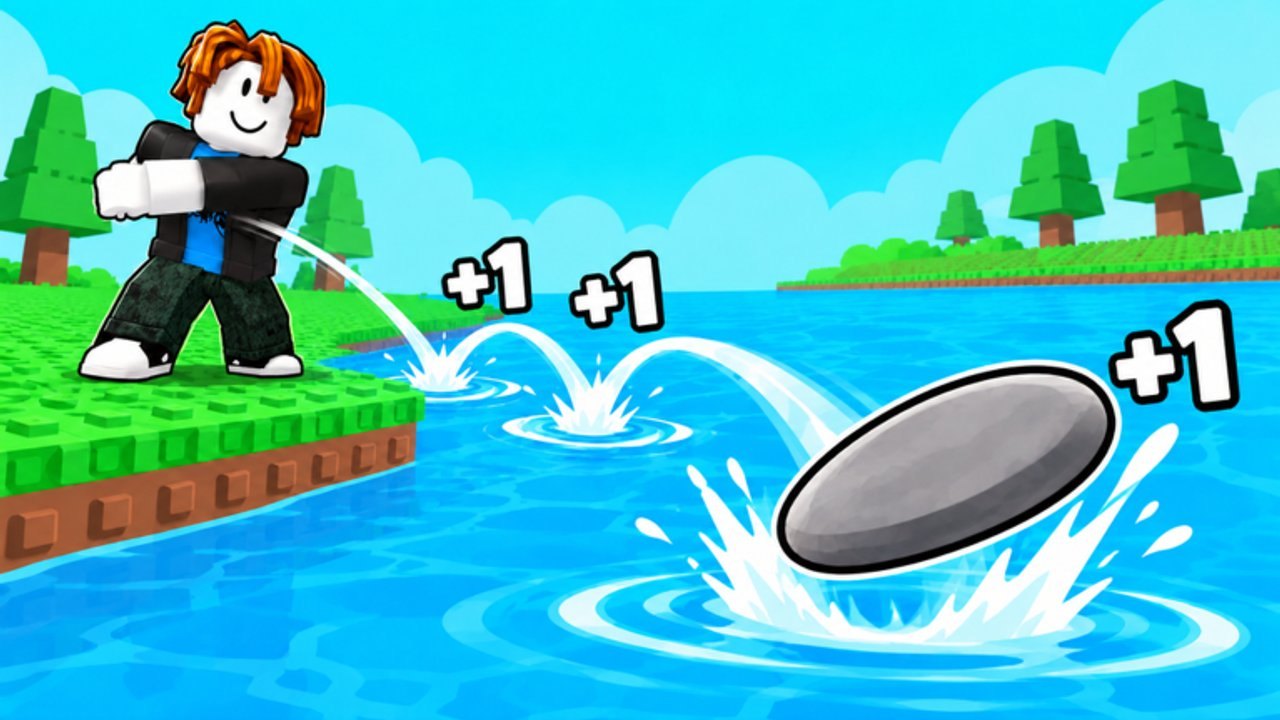
Stones are your early power spike
In +1 Stone Skipping, stone types (and later weird throwables) are the Shop upgrades that add Skill to every train tick and every river throw. They are cheaper than pet eggs at the start, they apply immediately when equipped, and they persist through every Rebirth. That combination is why every solid route says the same thing: buy better stones before expensive pets during the first stretch of the game.
Pets still matter—their multipliers eventually outscale additive stones—but stones carry your first rebirths, your first zone clears, and your recovery after each reset. Pair this page with the Stones Tier List for rankings and the Pets Guide for when to flip your Wins budget.
How stone Skill works
Stones grant additive Skill. Each upgrade bumps the Skill you generate while training or throwing. Additives feel huge when your base number is small: jumping from a starter pebble to a +3-style early stone can triple early pad speed. The same additive bump feels smaller once pet multipliers and rebirth multipliers are enormous—which is expected, not a reason to skip mid stones entirely.
Because additives stack with:
- Permanent rebirth multipliers
- Pet Skill multipliers
- Skill Potions (~2x for ~10 minutes)
…every stone you own still contributes after the late-game pet spike. You simply stop prioritizing marginal stone buys when the next egg expected value is clearly higher.
Early-game buy order
Follow this order until your first two rebirths feel comfortable:
- Redeem Codes for free Wins and potions.
- Train on a side pad until you can reach a Wins band that funds the next stone.
- Buy the next stone tier as soon as it is affordable.
- Equip it immediately—owned but unequipped stones help nobody.
- Repeat until eggs stop looking like a total account wipe to purchase.
Do not “save” for a distant legendary egg while two stone upgrades sit in the Shop. Those two stones often pay for the egg faster than hoarding does. Getting Started covers the same priority inside the full beginner loop.
Mid-game stones
After a few rebirths and a move onto 4x (and later 10x) pads, mid stones remain a clean Wins sink between egg batches. They:
- Shorten rebirth recovery
- Help you poke new river zones for better Win Potions value
- Keep additive Skill climbing while you wait on luck-dependent hatches
Use mid stones as bridges, not trophies. If a stone’s cost approaches a full egg that can roll a large multiplier, compare expected value using the Pets Tier List and only then divert funds.
Late-game and unusual throwables
Meow Labs leans into joke and novelty throwables as Worlds advance—the community-famous donut sits in that late/unusual bucket alongside other non-rock objects. These items still follow the same rule: they are Skill tools you equip for throws and training, and they survive rebirths.
Late throwables tend to offer the largest additive jumps left in the Shop. They will not replace a god-roll pet, but they polish endgame distance when multiplied by high rebirth counts and rarity pets. When a new World lands, check the refreshed stone row before you dump every Win into the newest egg—sometimes the World-one stone unlock is the cheaper key to reaching that World’s paying zones. Watch Updates for shop refreshes.
Stones versus pets (decision rule)
Use this simple rule at the Shop:
- If the next stone costs a small fraction of the next egg and still increases Skill → buy the stone.
- If stones are caught up for your World and Wins are plentiful → hatch with Luck Potions.
- If you are soft-capped at 100% Rebirth → rebirth first, then shop (Skill is frozen anyway).
Additive versus multiplicative math explains the pivot: early accounts need flat Skill; late accounts need multipliers. Both lanes stay equipped forever, so you are sequencing spends, not choosing a single identity.
Equipping, Worlds, and distance
Always throw with your highest Skill stone equipped. After a World unlock, re-check the Shop—new stones may leapfrog your old best. Distance goals and zone payouts are covered in Throw Farther. HUD locations for Shop and Throw are on Controls & HUD.
Stone session checklist
- Best stone equipped before pad AFK
- Wins reserved for the next clear upgrade, not random impulse eggs
- Skill Potion active when testing a new stone’s zone reach
- Rebirth taken on time so additives apply on a rising permanent multiplier
- Tier list opened when two upgrades look similar in price
Related pages
- Stones Tier List — S–C rankings by stage
- Pets Guide — when eggs overtake stones
- Rebirth Guide — why stones survive resets
- Throw Farther — turn additives into zones
- Guides Hub — all walkthroughs
- Tier List Hub — stones and pets together
- Scripts — optional QoL while you farm Wins for the next stone
Frequently Asked Questions
Quick answers to the most common questions.
Should I buy stones or pets first?
Buy stones first in the early game. They cost less, add Skill immediately, and keep working after every rebirth. Shift Wins into eggs once stones for your stage are caught up.
Do stones reset when I Rebirth?
No. Owned stone types stay unlocked and keep their additive Skill through every rebirth.
Are joke items like the donut real upgrades?
Yes. Unusual late throwables still function as Skill-boosting equipment. Equip them when they beat your current stone’s Skill contribution.
Why do late stones feel weaker than pets?
Stone bonuses are additive while pet bonuses multiply Skill. Additives dominate early; multipliers dominate once your base Skill and rebirth stacks are large.